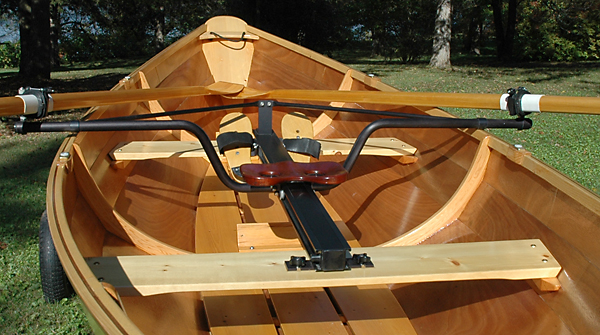
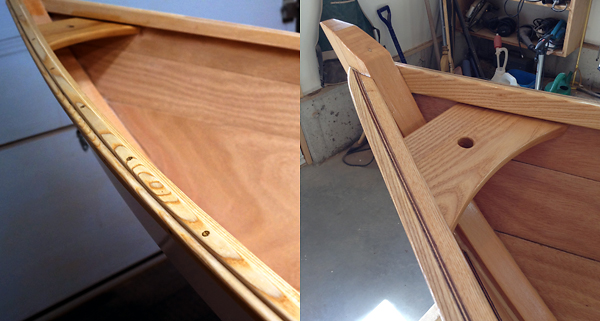
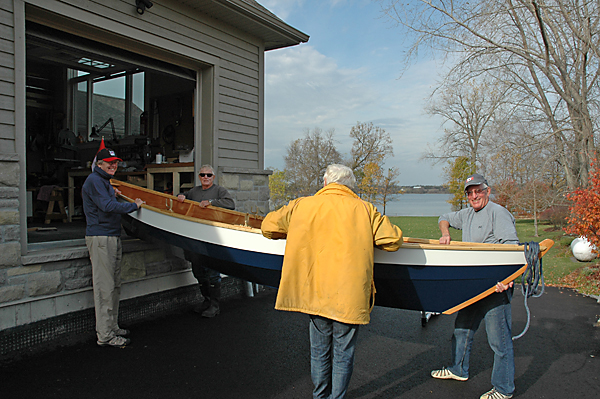
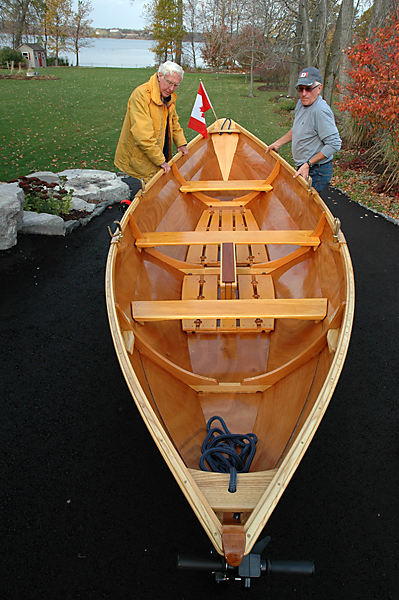
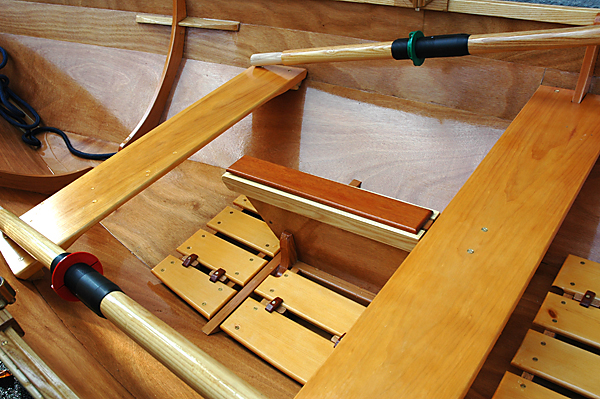
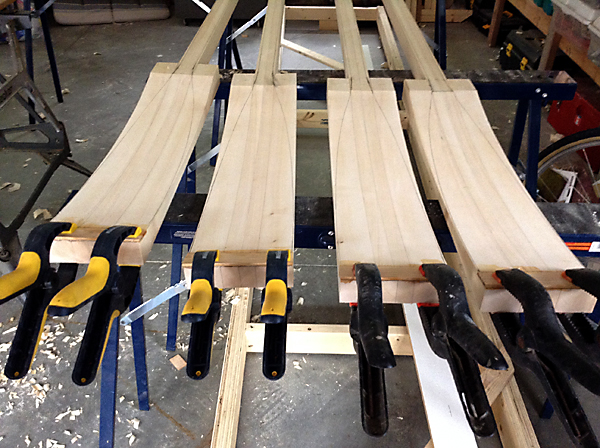
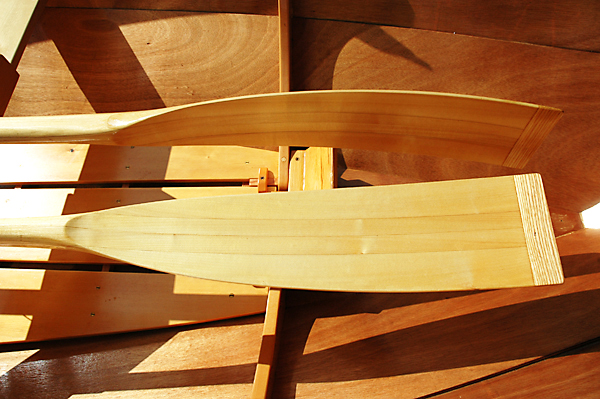
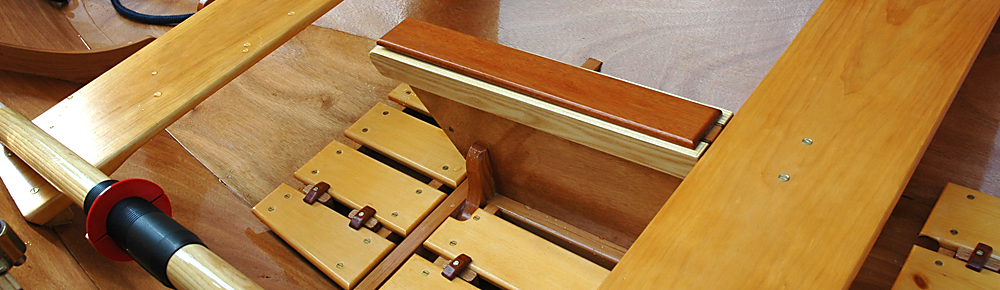
With the launch of Don’s dory last week, our joint boatbuilding project has come to a successful conclusion. Two beautiful dories and a great time building them. Don’s fun doesn’t stop here however, during the winter he will build the sailing components for his boat: spars, rudder and daggerboard as well as completing two sets of oars.
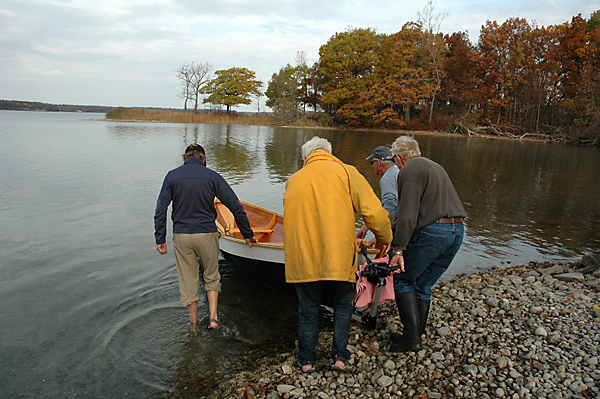
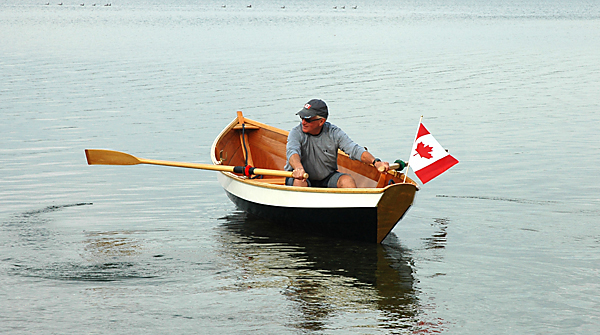
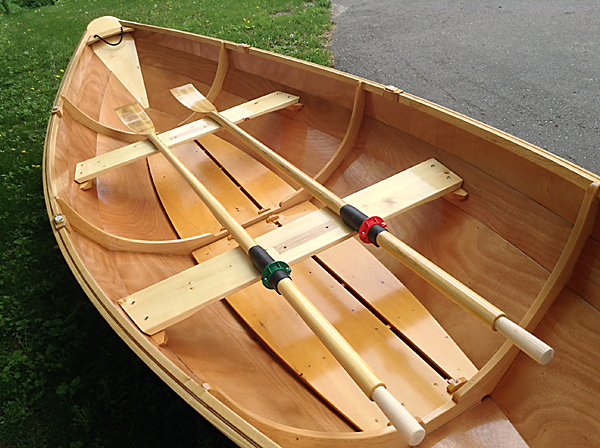
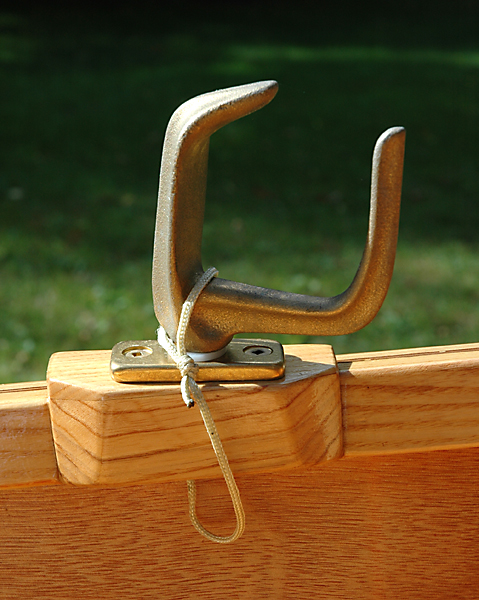
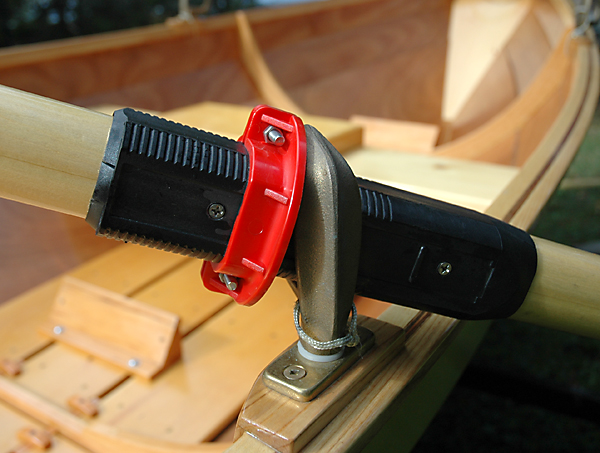
Look on the Bright Side
Don and I both decided to finish our boat interiors with bright finishes. For the non-slip surfaces, floorboards and thwarts, we used three coats of Sikkens Cetol Marine. The rest of the interior, gunwales and the outside of the transom got six coats of Epifanes Gloss Varnish. The natural look of the wood contrasts nicely with the painted exterior.
Boxed In
Once the daggerboard box has been assembled and the slot cut in the bottom panel, its time to epoxy it in place. Here’s an easy method of clamping the box to the bottom panel using two threaded rods with wooden blocks, washers and nuts at each end. With the lower blocks held up against the bottom of the boat, the top blocks are then tightened down. Don’t forget to put packing tape on the bottom blocks.
Change of Pace
The RowWing sliding seat drop-in unit takes less than a minute to install. Hardwood inserts were set into the softwood thwarts for the mounting brackets to rest on. To secure the unit in place, four knobs thread onto stainless steel T-nuts driven into the underside of the thwarts. A pair of 9-1/2′ Piantedosi basswood sculling oars with Macon blades are used with this unit.
Turn Up the Heat
Temporary screws can sometimes become permanent if they are not removed before the epoxy cures. A neat trick is to use a soldering gun to heat up the screw head and then remove the screw. In this case, the screw was not only stuck but the head was stripped and needed vice grips to turn it out.
Black & Blue
We painted the hulls using Interlux Brightside Polyurethane, a hard, high gloss one-part finish. I have used this paint on previous boats and it stands up extremely well, retaining its gloss for many years.
Under Cover
Glued plywood lapstrake boats show their true identity at the top edge of the sheerstrake. A covering strip can be added to hide the plywood edge leaving viewers wondering if the boat is built with solid wood. The other approach is to let the plywood edge show revealing the construction method.
Perfect Pitch
There are many different oarlocks on the market to choose from. I was looking for something that would would function like a Concept2 oarlock but in a more traditional style. That meant having the right amount of pitch so the oar doesn’t dive or wash out and can still be easily feathered. Douglas oarlocks with Martinoli sleeves looked like the perfect solution. The oarlocks have 6° built into them and the sleeves have flats on three sides which align against the flats on the oarlock to let you know if the oar is at the proper angle for either feathering or pulling.
The sockets were mounted on blocks that compensated for the bevel in the gunwales. This ensured the pins were at 0° when they were inserted in the sockets. The blocks also needed enough wood inside the gunwale so the pin did not hit the inside of the planking. A line was attached to the bottom of each pin and looped over the oarlock horn to prevent accidental lose.
Made to Oarder
Making your own oars is a very rewarding experience. Plans and step-by-step instructions are available from several sources such as WoodenBoat magazine. They recently published an article called “The Geometry of Rowing” by John C. Harris in which he gives a formula for determing oar length. Unlike other calculations, he factors in the height of the oarlock above the water, a critical measurement in boats with more freeboard.
I made two pairs of spoon blade oars, one pair at 7’6” and the other at 8’6”. The wood used was basswood, very strong for its weight, although somewhat delicate. The tips of the blades have hardwood inserts for protection.
Rise to the Occasion
The thwarts in the dory are installed at a height for an average person leaving shorter rowers at a disadvantage. To compensate I made a lightweight seat riser from 1/2” ply, pine and 1” foam board. By raising the rower by 1-1/2” the oar handles are now at a more comfortable height.